Texas garden field guide
Growing Vegetables in Sandy Texas Soil
Sandy soil is easy to work and drains quickly, but its speed can make a summer watering schedule unreliable. The best plan starts with frequent checks, gradual organic-matter improvement and a crop layout you can water consistently.
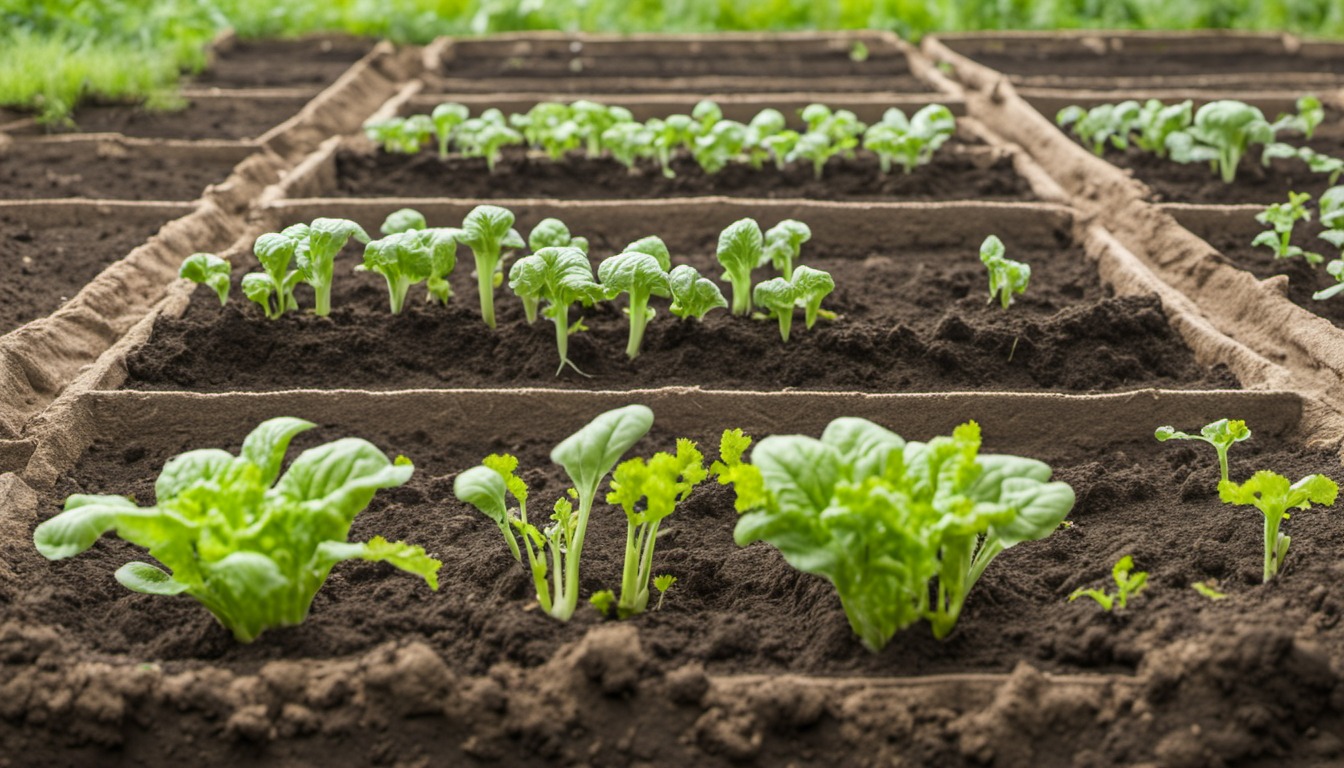
Look at the shape of the wet area
In sandy soil, a drip outlet may send water downward faster than it moves sideways. After a measured trial, carefully examine the soil next to an emitter and midway to the next one. If only a narrow column is wet, a plant between outlets may remain dry even when the timer ran. Adjust the line or emitter placement and test again. A seed row and an established fruiting plant have different root zones, so the same watering pattern is not automatically ideal for both.
Choose the bed’s size around care
A small bed near a water source makes it easier to check seedlings during a hot, windy week. Group crops with similar needs and leave room to reach each plant. If you will be away, test the irrigation in advance and arrange for someone to check the soil, not just the timer. A mulch layer can reduce surface exposure, but it cannot repair a blocked line. Check current local restrictions before setting any automatic schedule.
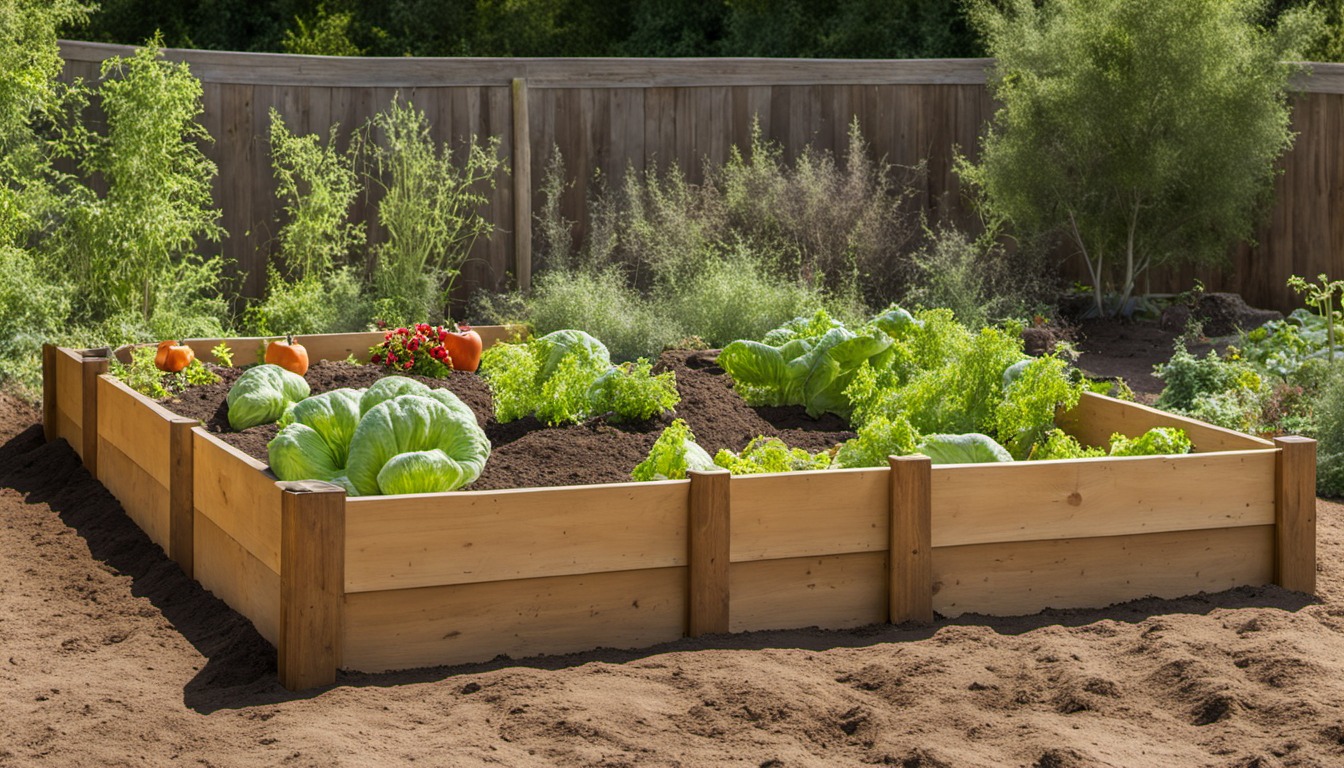
Add compost and follow the result
Organic matter can improve the soil’s ability to retain water, but its effect develops over time and materials differ. Use finished compost, note the source and amount, and compare the bed’s behavior after several waterings. A soil test helps with nutrient decisions; compost is not a fixed fertilizer formula. If a bed still dries rapidly, inspect the water distribution and mulch as well as the amendment. Avoid applying extra fertilizer simply because water drains quickly.
Plan a fall planting surface
A shallow seed zone can dry before a fall crop emerges, even if deeper soil is moist. Prepare a level row, sow at the packet depth and water gently enough to keep seeds in place. Check the row frequently during establishment and mark any re-sowing date separately. Once seedlings have roots, shift the check deeper. If the local planting window is closing, choose a suitable quicker crop instead of repeatedly sowing one unlikely to mature in time.
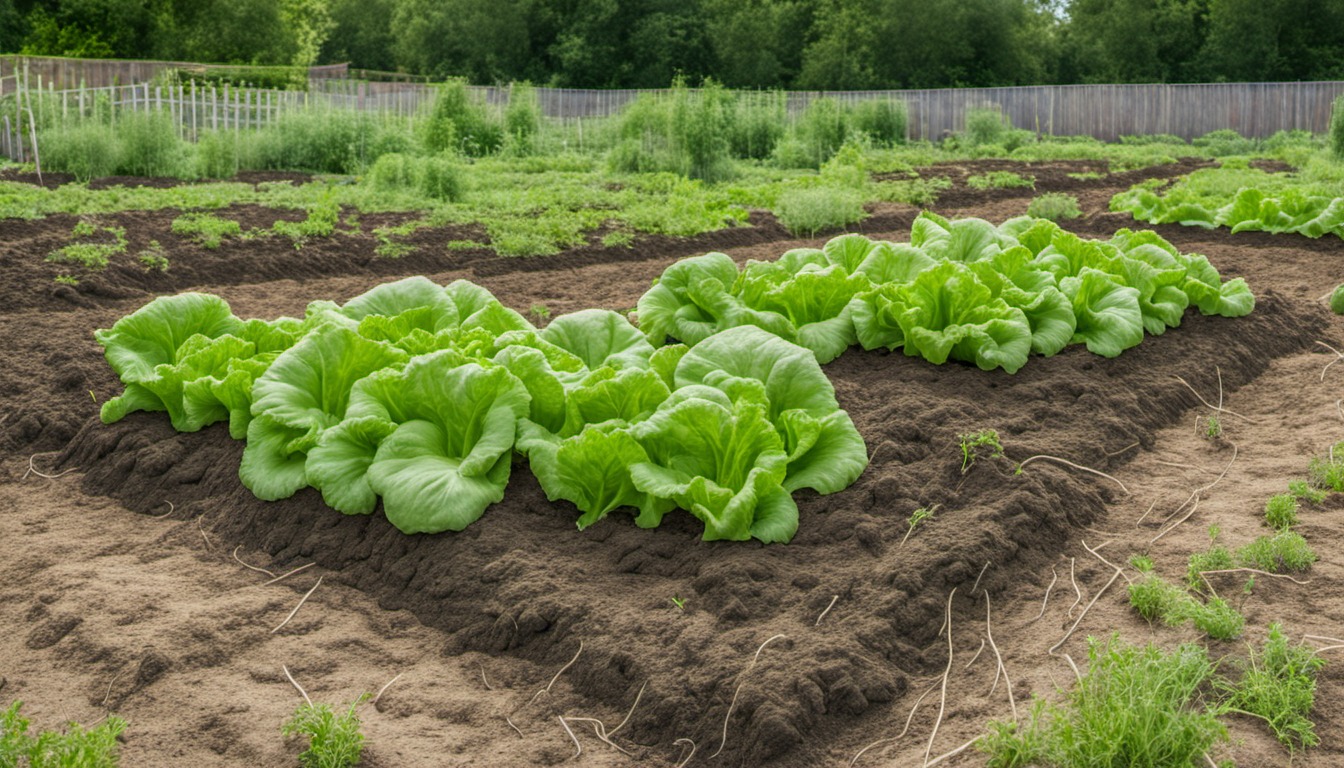
Cover the surface after establishment
Organic mulch shades bare soil and can slow evaporation while reducing weed pressure. Texas A&M suggests one to two inches for many organic vegetable mulches. Keep a clear space around stems, and do not cover a newly sown row so deeply that seedlings cannot emerge. Lift the layer when checking moisture; a dry-looking surface can sit above damp soil, and a wet mulch can hide a dry root zone. Replenish only where it has moved or decomposed.
Turn an irrigation target into volume
An inch of water spread over a square foot is approximately 0.62 gallon before losses. A 32-square-foot bed therefore takes about 20 gallons to apply an inch uniformly, but this is a volume calculation, not a recommendation to water on a fixed schedule. Subtract useful rainfall and check actual root-zone moisture. Sandy soil can need smaller, more frequent applications, especially for young plants; use the measured wetting pattern to decide.
Plan for rainfall and dry spells
Use a rain gauge near the bed as one input, then check soil at root depth. A short shower may leave deeper soil dry; a heavy rain may mean the irrigation schedule should wait. If a timed zone serves both new transplants and established crops, inspect each area separately. A newly planted root ball is small and may dry faster than the surrounding bed. Adjust the watering layout based on those observations rather than relying on the same interval all season.