Texas garden field guide
Gardening in Texas Clay Soil Without Compacting It
Clay can hold valuable water and nutrients, but when it is worked wet it can become a hard, compacted mass. Improving the soil begins with timing and patient observation, not a single bag of an amendment.
Distinguish texture from compaction
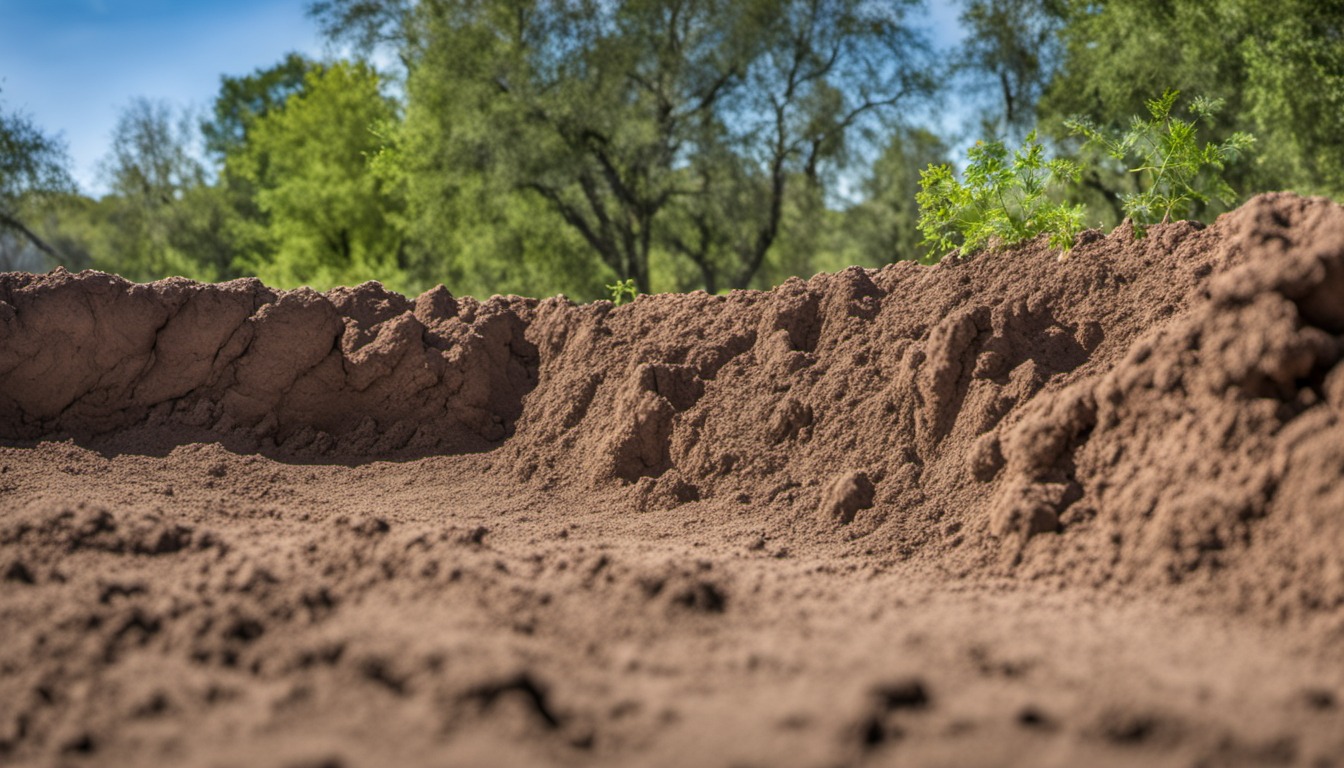
Clay is a soil texture; compaction describes reduced pore space caused by pressure, including walking or working soil when it is wet. The remedy is not to dig immediately after every rain. Test soil at the depth you plan to work and give it time to become crumbly. Keep permanent paths outside the growing area. If you must reach a wide bed, use a board to spread your weight and consider narrowing the planting area later. Protecting structure is an ongoing practice, not a one-time amendment.
Use organic matter with a purpose
Texas A&M describes organic matter as improving the workability of clay and the water-holding ability of sand. Finished compost is useful, but its composition varies; record its source and use a soil test to guide nutrients. Work gradually when soil is suitable. Avoid assuming that a small amount of sand, gypsum or fertilizer will solve every clay problem: drainage, compaction and nutrition are separate questions. If the bed produces well but is difficult to work after rain, changing access and timing may help more than adding another product.
Observe drainage after a storm
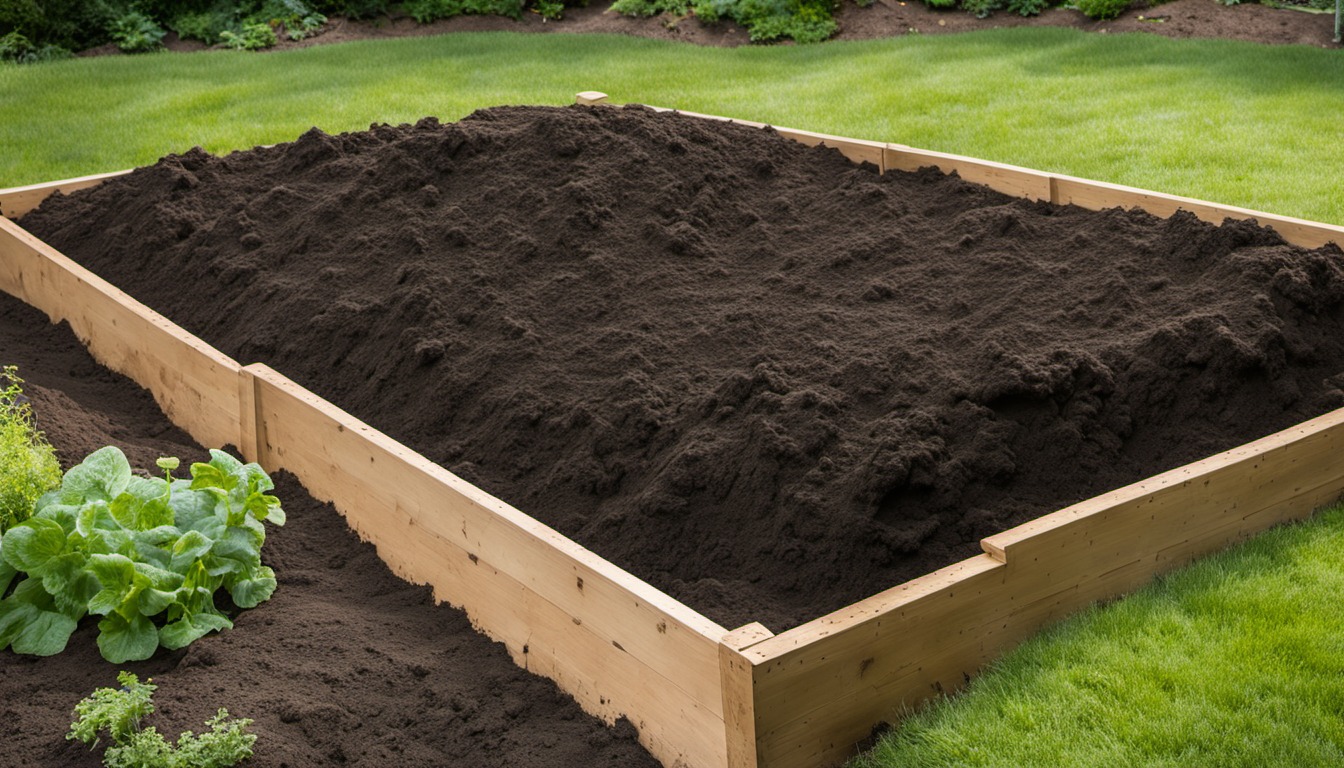
Compare a low, slow-draining spot with a nearby area that dries sooner. Note the slope, shade and whether foot traffic or roof runoff concentrates water there. A raised growing surface can improve access, but persistent standing water underneath still needs attention. Do not redirect runoff onto a neighboring property. If a proposed site stays saturated for an extended period, choose a better location or seek local guidance on the drainage issue before planting a crop sensitive to wet roots.
Adjust the watering method
Apply water slowly enough for the soil to absorb it. If it pools, pause and return after it has soaked in, then check below the surface with a trowel. One long run can look generous while much of the water travels away from the bed. Mulch reduces exposed soil, but lift it to check moisture before another irrigation. As plants grow, inspect several parts of the root zone; the surface under a dense canopy can differ from the bed edge.
Plan the first planting
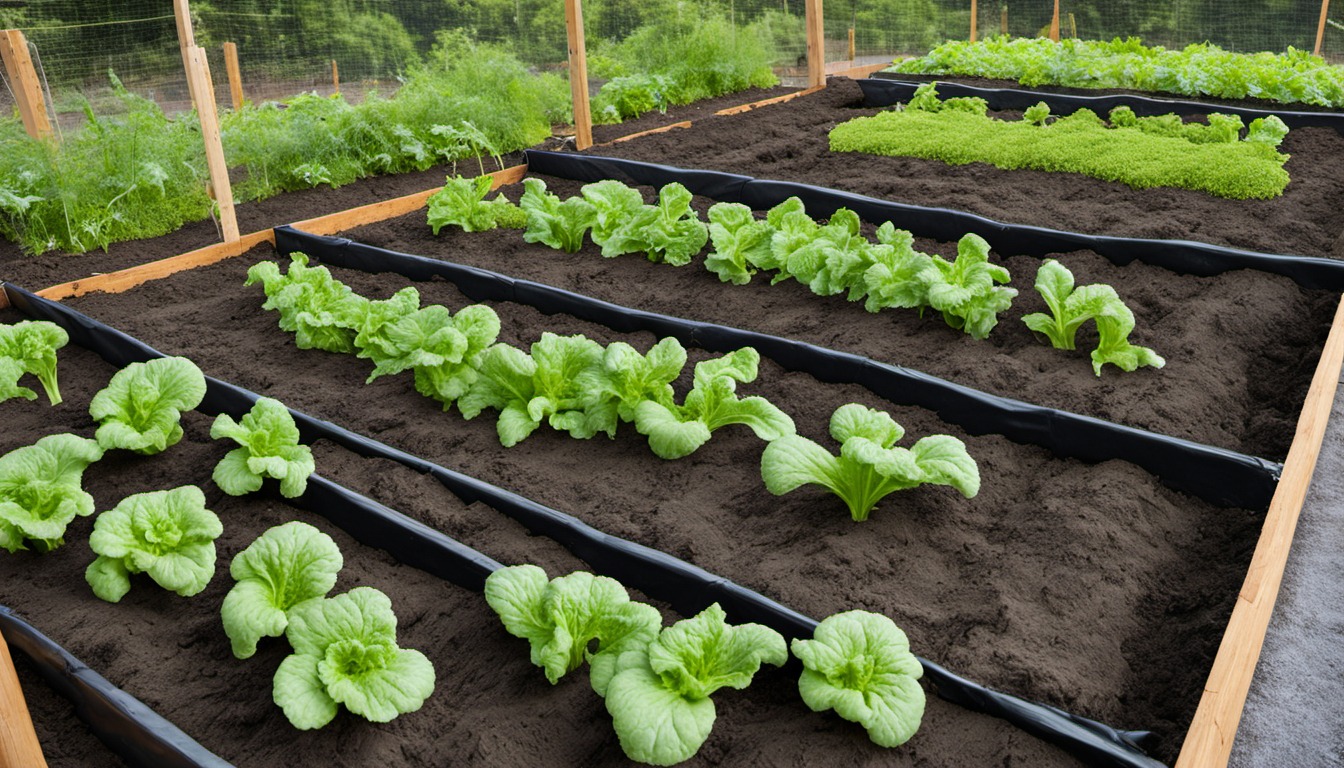
Once the bed is workable, lay out crop rows and paths before bringing in transplants. Allow mature spacing and a way to reach the center without stepping on the growing area. A raised soil row or a framed bed can improve access, but check where water goes after a storm rather than assuming the frame solves drainage. Plant into prepared soil at the depth recommended for the crop; do not dig through wet clay merely to meet a date.
Use a soil test for nutrients
A difficult texture is not by itself evidence that the bed needs a particular fertilizer or a pH amendment. Take a representative sample following the laboratory’s current instructions and keep the report with your bed map. Apply only the recommended amount for the measured area. If plants wilt while soil is wet, investigate drainage and roots as well as nutrients. This separates a physical problem from a fertility decision and prevents buying products that do not address the actual cause.