Oklahoma garden field guide
Start an Oklahoma Spring Vegetable Garden
Spring can offer excellent growing weather and sudden reversals. A small, prepared bed and two planting phases make it easier to use mild weather without exposing every tender crop to a late cold snap.
Begin with the site
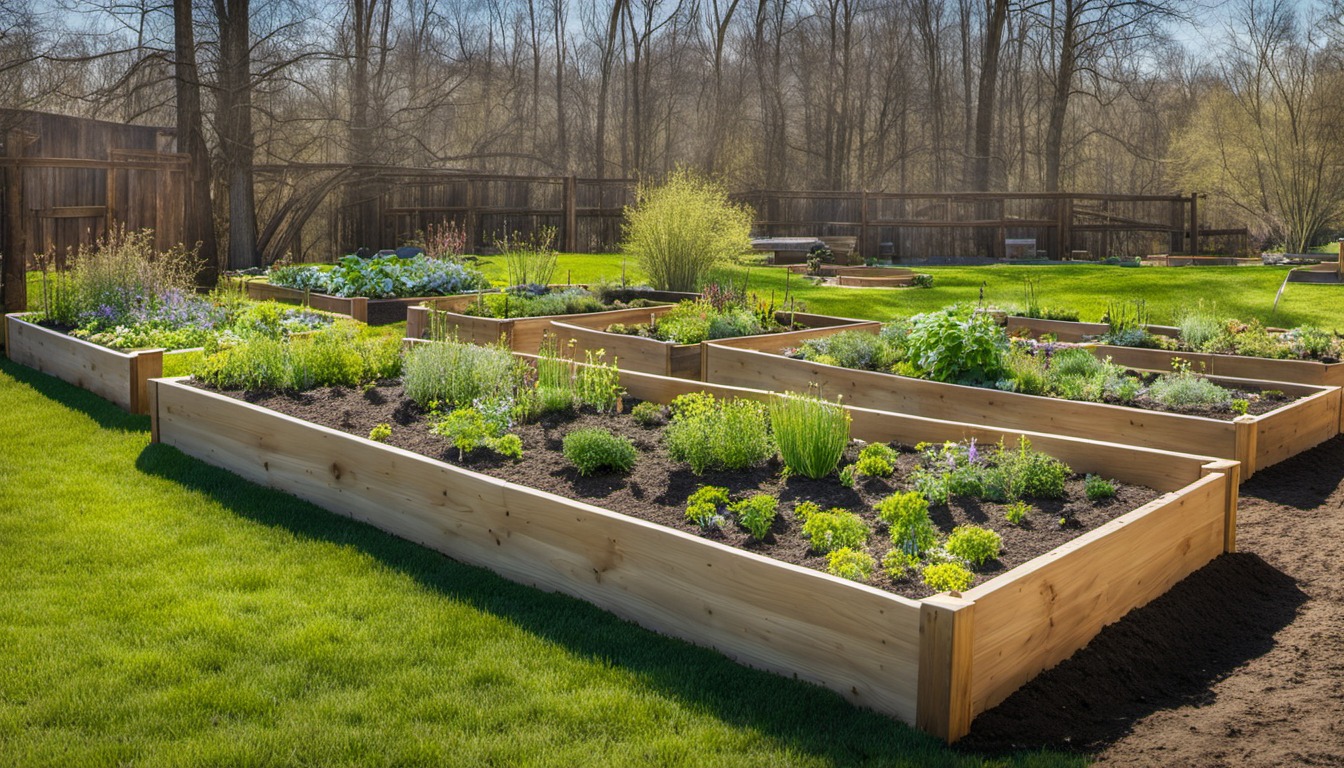
Choose the sunniest practical location with drainage and a nearby water source. Watch it after rain: standing water or sticky, clod-forming soil is a reason to wait. A modest bed that you can reach from the paths is easier to weed and harvest than a large plot planted in a rush.
Plant cool-season crops first
Leaf lettuce, peas and onions tolerate cooler weather than tomatoes. OSU’s spring chart gives crop-specific dates, spacings and methods, with the earlier end generally for southeast Oklahoma and the later end for the northwest. Use it with your county guidance, not as a promise that the soil is workable on a particular day.
Hold tender starts until conditions fit
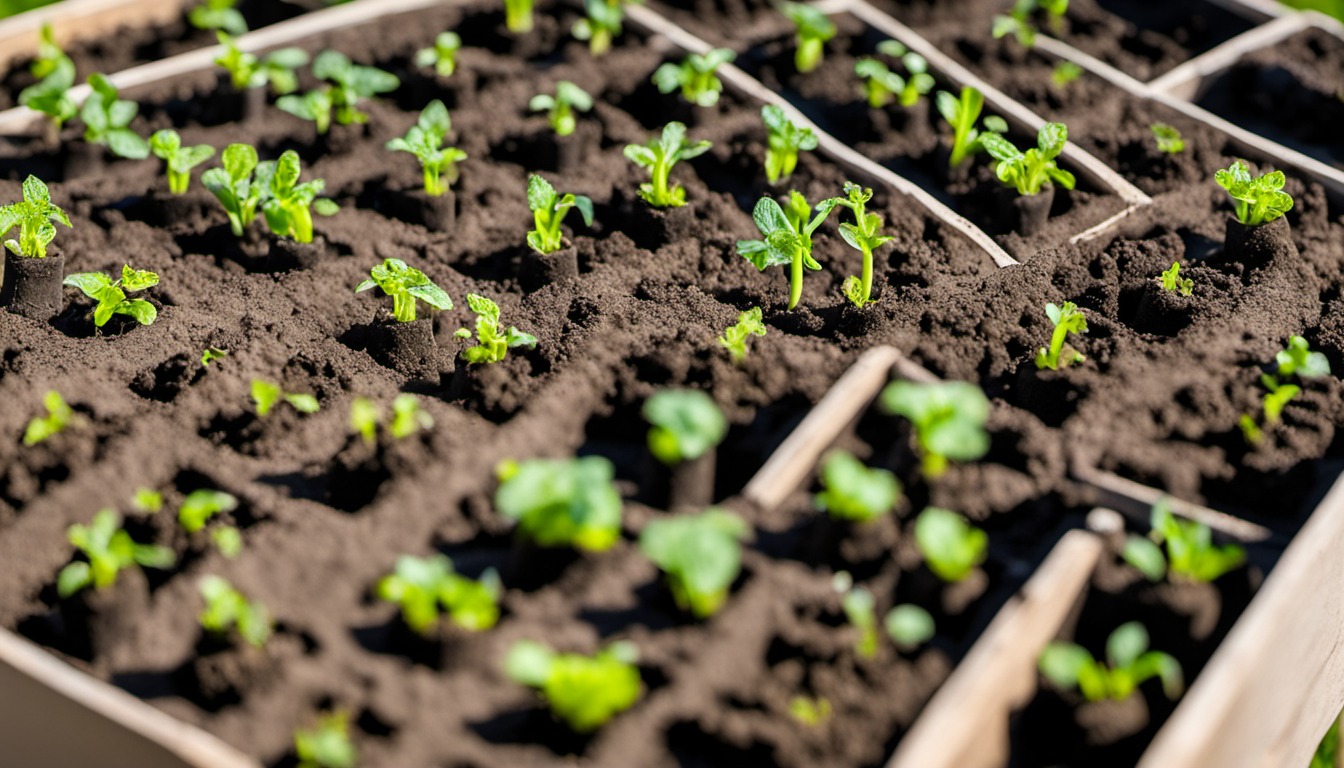
Tomatoes and peppers are injured by frost, and cold soil can stall growth even after a calendar milestone. OSU’s tomato guide calls for weather to warm and soil above 60°F; its approximate southern and northwestern dates differ by weeks. Check the soil, the forecast and your site rather than relying on a hardiness-zone label.
Prepare without overworking
Pull weeds when the ground is workable, add finished compost where helpful and arrange support before planting. Test soil rather than routinely applying fertilizer or lime. If seedlings are started indoors, gradually expose them to outdoor conditions before transplanting and check their root balls during establishment.
Make the first bed earn its space
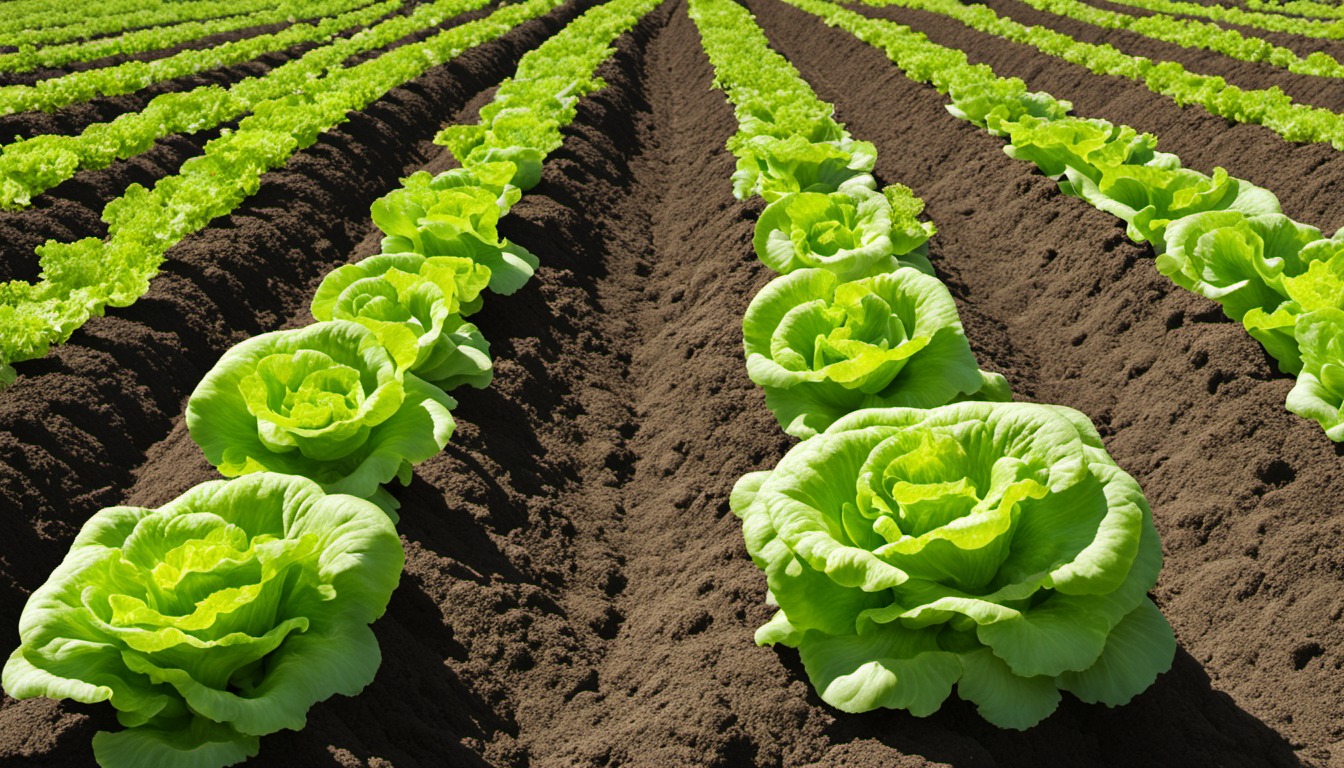
For a practical first bed, plant a short row of greens at one end and reserve room for a later warm-season transplant. Mark dates and leave mature spacing, not just room for the tiny seedlings. When the greens finish, clear their section and compare the remaining season with the next crop’s needs.
Example: one bed, two planting phases
A gardener with a small sunny bed might put a short row of leaf lettuce at one end and leave the other end for one supported tomato. Before sowing, draw the tomato’s mature footprint and the path needed to reach its fruit; a transplant that looks tiny in April will not remain tiny. Check the lettuce and tomato windows separately in the OSU chart, and use the local forecast before moving the tomato outside.
If a long wet spell delays preparation, wait until soil is workable rather than making hard clods. You can use that time to check supplies, build a support and harden transplants gradually. If an early sowing fails, investigate depth, moisture and seed age before repeating it, then verify that the revised planting still fits the season.
Check the underside of purchased transplants before bringing them home, looking for obvious damage or pests. Keep a small reserve of seed where appropriate instead of filling every space at once. If the forecast changes, move the tender-plant job and preserve the rest of the plan rather than disturbing crops already growing well.