Oklahoma garden field guide
Scout Vegetable Garden Pests in Oklahoma
A chewed leaf is a clue, not a complete diagnosis. Regular scouting lets you distinguish a small, tolerable problem from damage that needs action.
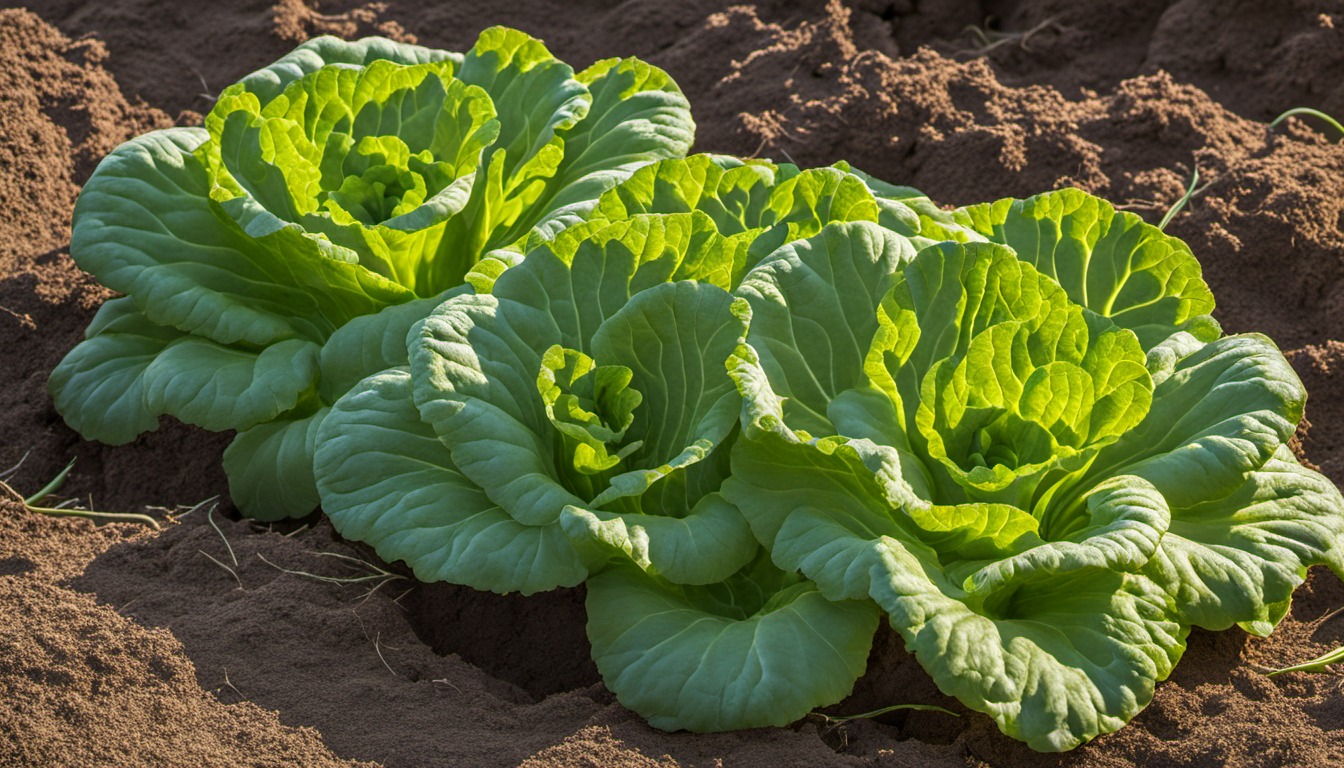
Look closely and record
Inspect growing tips, stems and leaf undersides, noting the crop, location and pattern of damage. Take a clear photograph and look for the insect itself, eggs, droppings or disease symptoms. Check again over time; old damage alone may not mean the pest is still present.
Identify before acting
OSU’s home vegetable pest guide describes common insects and their damage. A county Extension educator can help when the cause is uncertain. Avoid treating every insect as harmful: predators and pollinators are part of the garden, and water stress or disease can also resemble pest injury.
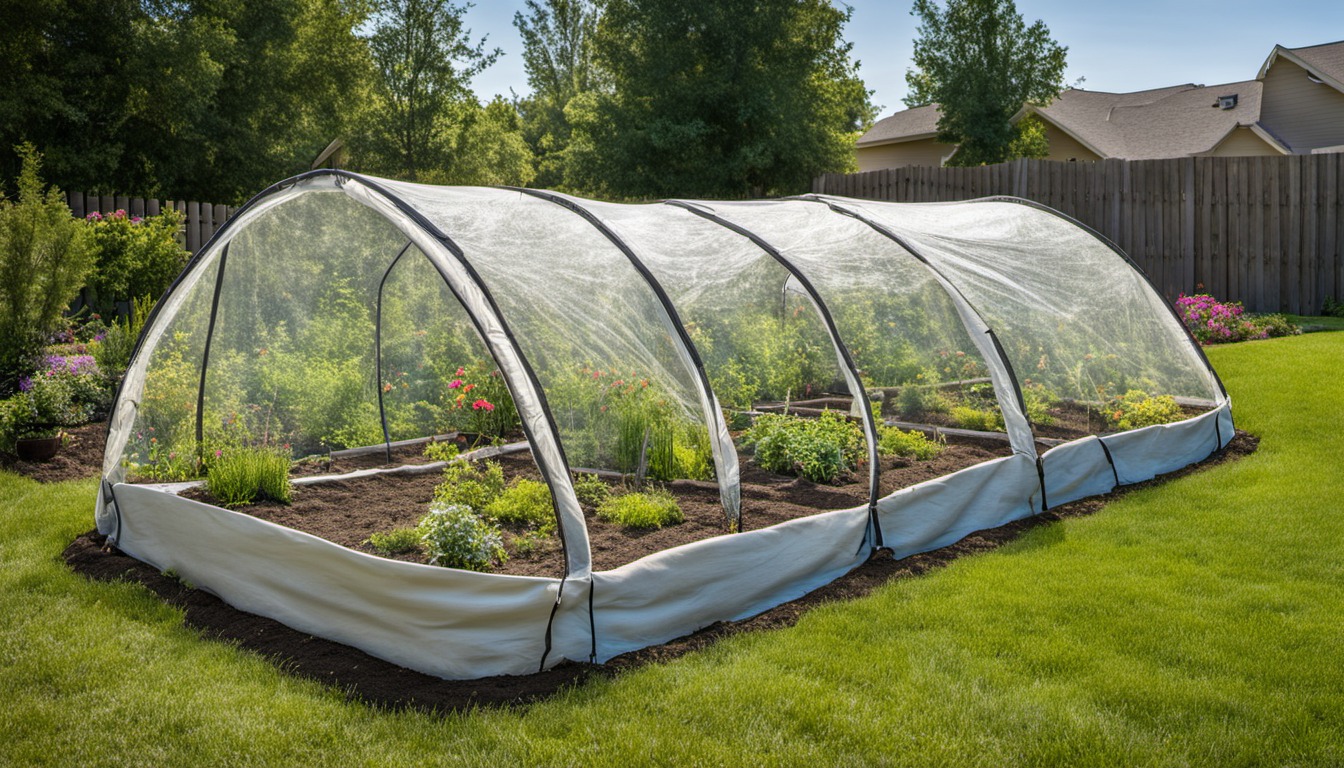
Start with practical controls
Remove a small number of pests by hand when appropriate, maintain healthy plants and use physical barriers suited to the crop. A barrier must be installed and maintained correctly, and it may need removal for crops that depend on pollinators. Remove heavily damaged material where advised.
Choose a pesticide only when needed
If a pesticide is appropriate, use a product currently labeled for the specific crop and pest and follow all label directions, including protective equipment and harvest intervals. Labels and registrations change; seek current Extension guidance. Avoid treating open flowers when pollinators are visiting.
Review what happened
Record the identification, severity, action and result. Clean up spent or diseased plants as appropriate and rotate crop families where feasible, while recognizing that rotation is not a cure for every pest. Next season, use the record to inspect the vulnerable crop earlier.
Example: inspect a damaged brassica
If a cabbage leaf has holes, turn over several leaves and examine the growing point. Look for caterpillars, eggs or fresh droppings and compare them with the OSU guide. A few old holes may not justify the same response as rapidly increasing damage to a small transplant. Photograph the symptoms and check again to see whether the problem is active.
Remove a small number of identified pests by hand where practical, and consider a properly installed barrier for future plantings. If treatment becomes necessary, read the current label for the specific crop, pest and harvest interval. Keep a note of the result so next season’s inspection starts before the same stage of damage.
If you ask Extension for help, provide the crop, approximate planting date, clear photographs of the whole plant and close-ups of the damage, plus any treatments already used. That context can prevent misidentification. Retain the product label and application date if you did treat the plant.